Thursday 28 February 2013

Tonic Floral Delights Die Sets

These are just amazing!

These gorgeous new dies from Tonic help you to effortlessly create beautiful realistic flowers like this intricate one made from Vellum:


So, let me show you how they work.

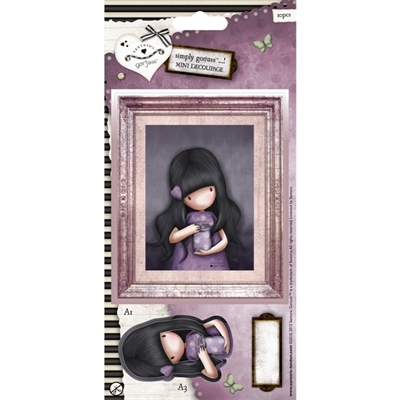
The one I'm using is the Oriental Lily set here:


What you get in the box is two dies, a petal and leaf die and a stamen and base die. You also get a couple of sample sheets of the matching paper pad.
You can buy these paper pads separately, but you can of course use the die on any cardstock or paper you might already have too. I must admit, I'd recommend getting the paper pads, purely because they're just so lovely!


The corners of this paper pad have little black dots which you use to line up the paper with the holes in the die itself:


Then just run this through your bigshot like you would a nesting die:


Now, this next bit's brilliant, although you can leave this stage off if you don't want to emboss the petals. But I love the effect it gives. You'll need the silicone rubber mat for the bigshot (sold separately, and we have it in stock) or if you're using a grand calibur, it's the tan embossing mat. They're both essentially the same thing.

Here is the stamen and base die, but it's the same for both. You need to pull off the waste paper leaving the die cuts themselves in the die:


Then you'll need to open the top tab on your multipurpose platform. Lay on a single clear cutting mat, then the die, cutting side up, then the silicone rubber followed by the Impressions Pad.


I have little stickers on my impressions pad to remind me which order to put the stack in!

You'll get a little mark on your silicone rubber like this. But amazingly, the die won't cut into the rubber! I must admit, I was pretty worried the first time I did it, but even that little mark itself actually rubs out.


And here is an embossed petal. How pretty is that?


So, here is everything cut and embossed:


So, on to the shaping!

Now this is an excellent tip from Jodie Johnson, the lady who designs these dies. Take your pokey tool and use that to curl the petals of your flowers:


Now, pop a blob of glue onto the base, and use the base itself to line up the 5 petals and stick them on:


Next up is the stamen. Using the embossing tool and foam mat you'd use for DIY Card Candy, emboss the back of the stamen to give it dimension:


Glue the stamen in place using a stick it gluepen. With the flower the right way up, press hard in the centre. This chunky embossing tool from Payper Box is ideal for this, since you need a nice large tool to get the right effect.


To finish off your flower, curl the leaf like you did with the petals. I like to curl the leaf in two directions, like this:


Glue the leaf onto the back of your flower, and voila! A beautiful, realistic Lily:


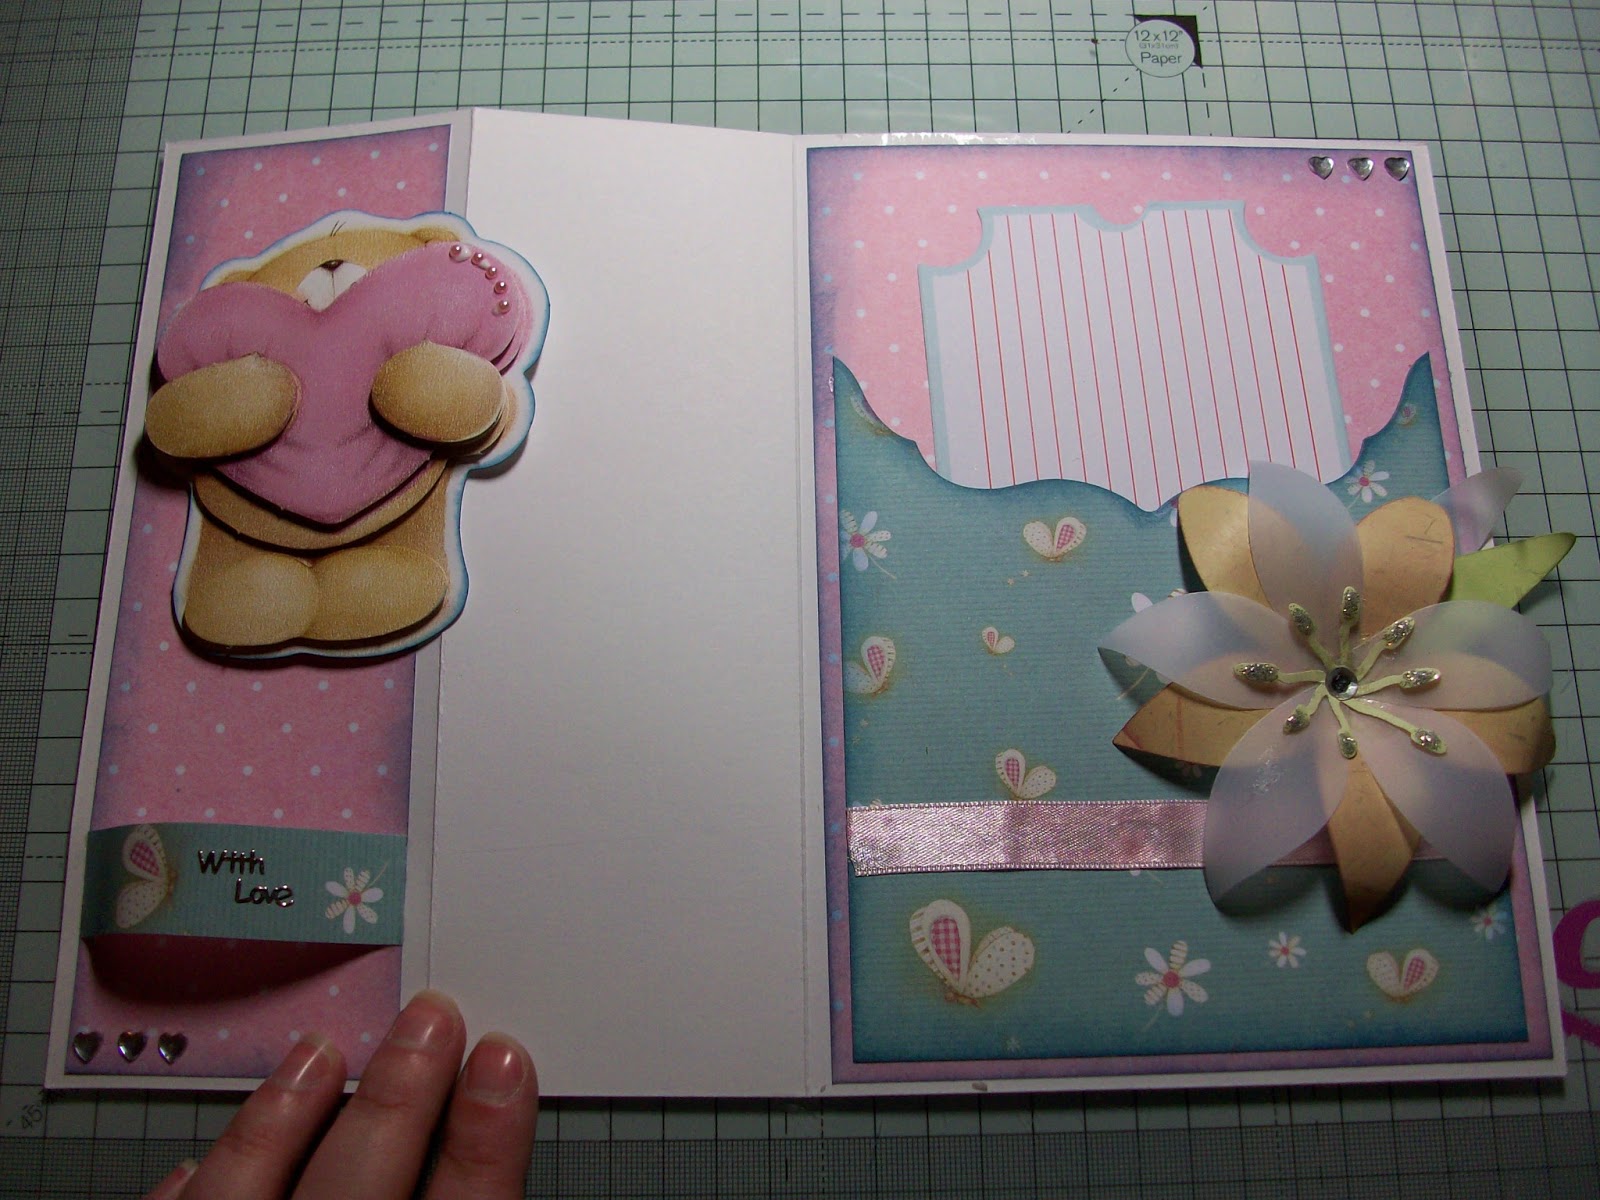
Isn't that just stunning! I got very carried away with this die set, and here are some of the lovely things you can make with it:


And here are a few made by Jodie herself:


That last one there is one of the other sets, which will be arriving soon.

Aren't they all just beautiful!


Gorjuss!


This is such a beautiful range. So very exciting! There are tons of lovely things, including decoupages, mini decoupages, some beautiful unique embellishments and brads, papers, notelets, and the cutest little mini pockets I've ever seen!

To start with, here's one of the decoupages done onto a Gorjuss card blank. These decoupages have got a really interesting texture, which I just can't describe or capture in a photo! They really need to be seen. I suppose it's almost like a velvety texture, very distressy!


How adorable is that! This particular decoupage is from the Ultimate Die Cut pack. The little paperclip ribbon is from the All Aboard range. Love the idea of these, just so unique and different. The gems are from the Anita's Pearl Gemstone Wheel, and of course have been put on with the Magic Pencil!

These are the Ribbon Clips from the All Aboard range:


One thing I really like about these card blanks is the envelopes. Here they are:


Now, the photo hasn't quite captured the detail, but this should give you an idea of it:


I love the beautiful lines on that!

I've added a little something extra inside this particular card. I love notelets, and I love how they can finish a card off perfectly. The Gorjuss paper pack comes with a sheet of notelets to cut out, but you can buy them separately too.


Very pleased with that one. All I did was stick it on inside using my Stick It Roller.

Now, these are just sweet! They're mini decoupages and they're only £1.50 to buy.


Here's what they make:


So adorable!

I'm really proud of this next one. It's another decoupage, but it's also got some of the Gorjuss paper on it (comes with the decoupage pack) as well as one of the notelets and one of the new Gorjuss brads.


The notelet on the inside is from the paper pack, but the one on the front is from the notelet pack:


These notelets are perforated at the top, so you can tear off the little hanging tag and just keep the nice frame shape:


I must admit...I do have a problem with notelets! Can't help collecting them! But they're just so lovely, they look equally sweet on the front or the inside of a card, and they're especially useful when you've made a shaped, or fancy card that needs somewhere specific to write.

Now wait till you see these...aren't they just fabulous?


Just yummy! Here's a close up of the one I've used on the card:


I just love the stunning detail and the beautiful antique effect on these brads.

This next card is made using the unique new Memory Pockets from Gorjuss:


I love these, because those beautiful Vintage Tags I'm so addicted to at the moment fit perfectly inside them. The new printed tags from All Aboard also fit inside these little pockets.


Here's an All Aboard tag and pocket:


I haven't used this yet, but from the same range, here's one of the sheets from the little All Aboard Notepad. This pad has a load of different designs which you can tear out and either use on the front of cards, in the pockets, or inside like the notelets. Or of course, in scrapbooks.


And finally, here's a card made using one of those tags. I quite like this new style with tags hanging off the edge of your cards, it's something a little different.


Loving these new Gorjuss Goodies! They're just totally adorable and have been so much fun to craft with. I hope you all enjoy seeing them as much as I enjoyed making them! And of course all these products are now in stock in the shop if you want to make your own.

-

And to finish, just for fun!

Some lovely ladies were kind enough to say to me that my last messy desk wasn't all that messy. Now it's not that I'm out to prove them wrong or anything, but, erm, yes...


...Gorjuss creative chaos!