I love these little things...as anyone who's been in the shop recently and had little pots of coloured powder waved at them will know! There is sooo much that you can do with them, here are just a few things to get started.
First off, Mica Powders are really shiny pigment powders, this is what they look like;
They come in little sets of 6 with a soft, fine bristle applicator brush and an empty mini mister. That's my distress embossing ink in the photo, brilliant ink for mica techniques!
Stamping is one of the easiest fun things you can do with these clever little powders. This is the Jesse Edwards Home for Christmas Urban Stamp which I am so in love with at the moment!
So first off, ink up the stamp in clear ink. Versamark, Colorbox, Ink it Up and a variety of other clear inks will work too, but Tim Holtz's is one of the stickiest I've used so I'd recommend that one if you're after a new clear ink.
Then stamp it onto your cardstock;
I'm using Antique Tones, which are "interference" powders. That means
they react with other colours, so they're great fun to use onto darker
cardstock. There are other sets available which work really well onto
white cardstock too, but I love the effect of the interference powders.
So, all you need to do is dip the brush that comes with the set into the powders, and gently dab it onto your cardstock.
Here I'm mixing together several different colours from the Antique Tones set. I'm using Antique Gold, Antique Red, Antique Green and Enchanted Green (Enchanted is the white-looking one)
Next, you need to brush back and forth across the cardstock to brush off the excess. When you see the powders flat on, they'll be a darkish colour like this:
But if I hold that up to my desk lamp and take a photo...
How amazing is that!! It does look even shinier in real life, the photo only half manages to capture how gorgeous this really looks!
And here's a card made with this technique:
The other technique on this card is really fun, and I've done a video tutorial on it here: Mica Powder Background Video Tutorial but I'll give you a quick run down of how it's done because I managed to take some fun photos of this technique in action!
It's very simple, first off, cover your piece of white cardstock in clear distress ink.
Next, brush on an interference powder. I'm using Antique Gold here. A light coloured powder from another set will also work, like the lovely Soft Gold from the Festive set.
Now, this will look a bit rubbish at first! Don't worry, it's supposed to. Interference powders are designed to react with other colours, and we haven't added another colour yet, we've used white cardstock and clear ink.
This is the fun bit! Next you need to add colour. I've made up a mini-mister with Black Soot Distress Ink re-inker. These are actually designed for re-inking distress pads, but you can do all sorts of fun things with them on their own. This is what they look like, and they're £3.99 to buy:
You need to add 10 drops of re-inker to a mini-mister, then fill the rest up with tap water. And then you need to spray! About 3 squirts from a distance of something like 5" works well. And as it dries, watch the magic happen!
I sat there and took a bunch of fab photos as it was drying, this took about 10 seconds or so I'd say:
How cool is that?! It becomes a gorgeous, aged vintage background. But the shine really comes out.
There is so much more than just this you can do with mica powders, but I'll get onto that next time!
-
Click here for the next part
-
Part 1
Part 2
Part 3
Saturday, 17 November 2012
Thursday, 15 November 2012
How to use Mica Flakes
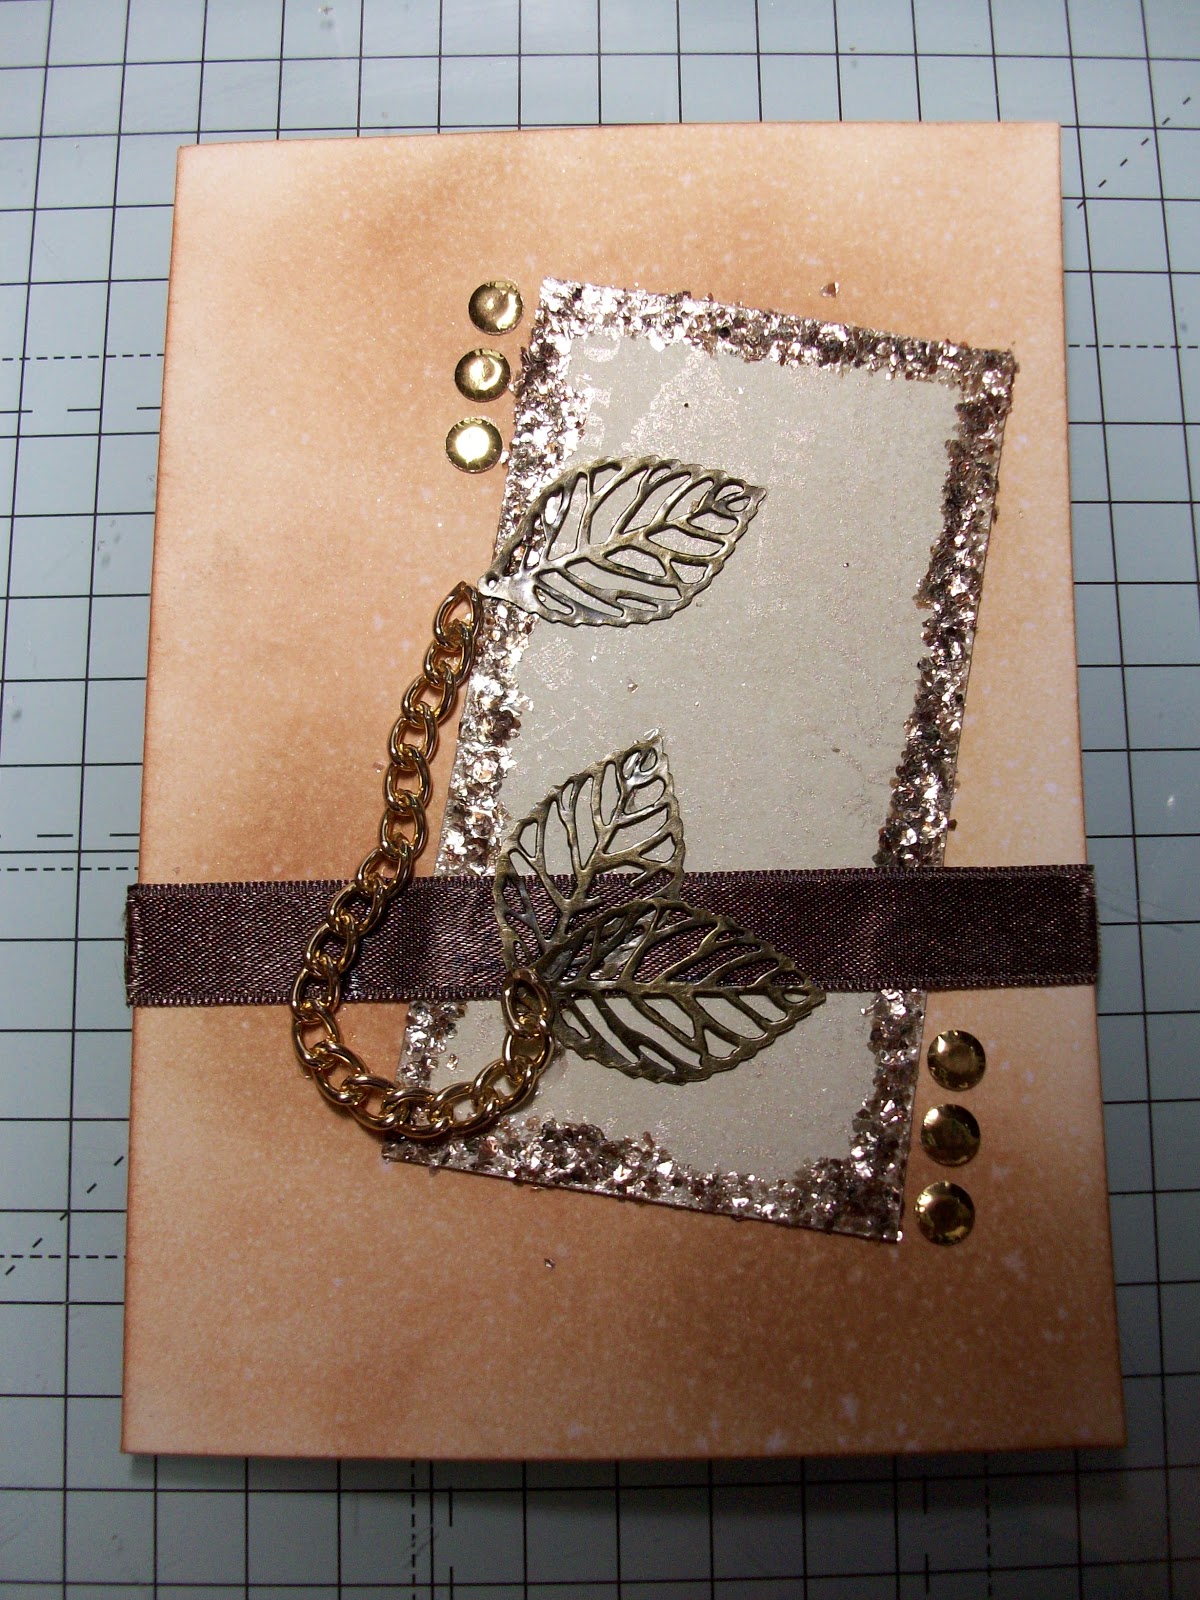
Mica Flakes are really interesting! They're basically what Mica Powders start life as before they're ground down into powder form. There's tons you can do with them, but one of my favourites is making really fun little borders from them.
I know they look like they ought to be very scratchy, but they're actually incredibly soft to the touch.
They really do make fabulous borders, and they're very easy to put on with a Stick It Gluepen. I've got here a little square of card covered with Bundled Sage Distress ink, and I want to put a border on it for a card I'm making.
Using Mica Flakes
First, just squidge on a line of glue all around the edges:
Next, smudge this with your finger to get a nice wonky border!
Sprinkle on the mica flakes. I'm using the Luna Silver here.
And just press them down around the edges.
I like to tap the excess off, then go back in and press down some more in case I've missed covering any little bits of glue.
Once you're happy with the effect, you can either give the piece of card a good flick on the back, or use a brush to brush off all the excess.
And here's my finished mica flakes card:
I'm really pleased with it! The "wish" and the snowflake were both done using Mica Powders. The little silver circle in the middle of the snowflake is one of my DIY Card Candy pieces!
More on both of those coming soon...
I know they look like they ought to be very scratchy, but they're actually incredibly soft to the touch.
They really do make fabulous borders, and they're very easy to put on with a Stick It Gluepen. I've got here a little square of card covered with Bundled Sage Distress ink, and I want to put a border on it for a card I'm making.
Using Mica Flakes
First, just squidge on a line of glue all around the edges:
Next, smudge this with your finger to get a nice wonky border!
Sprinkle on the mica flakes. I'm using the Luna Silver here.
And just press them down around the edges.
I like to tap the excess off, then go back in and press down some more in case I've missed covering any little bits of glue.
Once you're happy with the effect, you can either give the piece of card a good flick on the back, or use a brush to brush off all the excess.
And here's my finished mica flakes card:
I'm really pleased with it! The "wish" and the snowflake were both done using Mica Powders. The little silver circle in the middle of the snowflake is one of my DIY Card Candy pieces!
More on both of those coming soon...
Tuesday, 13 November 2012
Calendar Card Template
For any of our workshop-goers who would like the calendar card template, you can download a copy of it here: DOWNLOAD FILE
Monday, 12 November 2012
Demo Day Goodies!
Our Demo Day went fabulously well! Was lovely to meet everyone and share some ideas for some of the gorgeous new goodies we have at the moment.
For anyone that missed the day, or anyone who wants to have a second look, here are some of the lovely things we made:
(By the way, you can see all of these on our Facebook Page too)
This is Boofle made using Tim Holtz Distress Inks, one of my favourite things!
Click here to download the instruction sheet for the Boofle Card: DOWNLOAD FILE
This gorgeous card is made using Artiste Markers (More on those HERE) and a lovely Tulip Urban Stamp.
I love that stamp! So very cute! And the little dog just reminds me of my little dog...
Meet Buster. Totally not relevant to cardmaking, but it's a very cute photo!
Click here to download the instruction sheet for the Tulip Card: DOWNLOAD FILE
Here are a few other things made using the Artiste Markers:
We also had a play with Mica Powders! A video showing the ink-spraying technique used on the background can be found here: Mica Powder Backgrounds Video Tutorial
How gorgeous is that! When you see this card in real life, it really is amazingly shiny.
We made a few other things with Mica Powders and with Mica Flakes:
Click here to download the instruction sheet for the Mica Powders card: DOWNLOAD FILE
This is Boofle's decoupage! I do like him, he's ever so cute. And the cards we made out of the Ultimate Decoupage pack were so quick and easy to do, but the results were stunning:
The pack is so full of goodies! There are papers, boxes, borders, decoupage, toppers and so much more. I do like toppers, you can make nice quick, easy cards with them, but they look so effective when they're done:
And here is one of the little bags you get in the Boofle Ultimate Die Cut Set:
We made some other adorable little boxes too. These are ideal for little gifts, or for table decorations:
And..um...the chocolate's missing from this one! Can't think why...
Hope you enjoyed seeing it all as much as I enjoyed making it!
All the cards and other samples are on display in the shop, so if you'd like to see them in the flesh you're very welcome to pop in and have a look and we'll be happy to show you the bits we used to make them and how they were done.
For anyone that missed the day, or anyone who wants to have a second look, here are some of the lovely things we made:
(By the way, you can see all of these on our Facebook Page too)
This is Boofle made using Tim Holtz Distress Inks, one of my favourite things!
Click here to download the instruction sheet for the Boofle Card: DOWNLOAD FILE
This gorgeous card is made using Artiste Markers (More on those HERE) and a lovely Tulip Urban Stamp.
I love that stamp! So very cute! And the little dog just reminds me of my little dog...
Meet Buster. Totally not relevant to cardmaking, but it's a very cute photo!
Click here to download the instruction sheet for the Tulip Card: DOWNLOAD FILE
Here are a few other things made using the Artiste Markers:
We also had a play with Mica Powders! A video showing the ink-spraying technique used on the background can be found here: Mica Powder Backgrounds Video Tutorial
How gorgeous is that! When you see this card in real life, it really is amazingly shiny.
We made a few other things with Mica Powders and with Mica Flakes:
Click here to download the instruction sheet for the Mica Powders card: DOWNLOAD FILE
This is Boofle's decoupage! I do like him, he's ever so cute. And the cards we made out of the Ultimate Decoupage pack were so quick and easy to do, but the results were stunning:
The pack is so full of goodies! There are papers, boxes, borders, decoupage, toppers and so much more. I do like toppers, you can make nice quick, easy cards with them, but they look so effective when they're done:
And here is one of the little bags you get in the Boofle Ultimate Die Cut Set:
We made some other adorable little boxes too. These are ideal for little gifts, or for table decorations:
And..um...the chocolate's missing from this one! Can't think why...
Hope you enjoyed seeing it all as much as I enjoyed making it!
All the cards and other samples are on display in the shop, so if you'd like to see them in the flesh you're very welcome to pop in and have a look and we'll be happy to show you the bits we used to make them and how they were done.
Subscribe to:
Posts (Atom)